

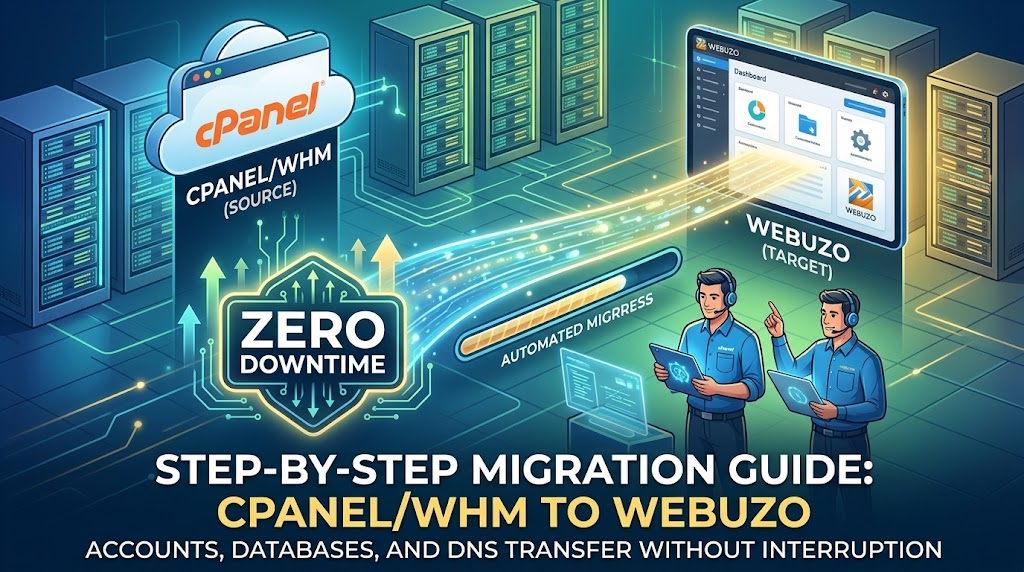
Performing a seamless cPanel to Webuzo migration without downtime is critical when migrating web hosting accounts, MySQL databases, and DNS configurations[cite: 1, 7]. Increasing cPanel licensing fees and server customization needs have driven many administrators to transfer their infrastructure to Webuzo[cite: 1]. However, the top priority during any server migration is avoiding downtime and data loss[cite: 1, 7].
In this comprehensive guide, we will walk through the exact step-by-step process to complete your cPanel to Webuzo migration efficiently and securely[cite: 1]. If you are setting up new servers, check out our guide on Linux server management and tutorials for best practices[cite: 1].
Pre-Migration Checklist
Before initiating the cPanel to Webuzo migration, ensure you have the following prerequisites ready on both your source (cPanel) and target (Webuzo) servers[cite: 1]:
- Root Access: Full root SSH access to both cPanel/WHM and Webuzo servers[cite: 1].
- Webuzo Admin Panel Access: A fresh Webuzo installation with admin credentials[cite: 1].
- Bandwidth & Storage: Sufficient disk space on the target server to accommodate all migrating accounts[cite: 1].
- Low TTL DNS Settings: Lower your domain DNS TTL (Time To Live) to 300 seconds (5 minutes) at least 24 hours prior to migration[cite: 1].
Step 1: Lower DNS TTL (Prevent Cache Stagnation)
To ensure a seamless transition during your cPanel to Webuzo migration when pointing your domain to the new IP address, reduce the TTL value in your DNS zone file on the cPanel server[cite: 1]:
- Log in to WHM as root[cite: 1].
- Search for DNS Zone Manager[cite: 1].
- Select your domain and click Manage.
- Edit the A Record TTL and change it from
86400(24 hours) or14400(4 hours) to300(5 minutes). - Save the changes.
SEO & Admin Tip: Lowering the TTL ensures that once you update your name servers or IP address, local ISPs and global DNS resolvers update their cache within minutes instead of hours, avoiding traffic loss[cite: 1].
Step 2: Enable the cPanel Importer Feature in Webuzo
Webuzo features a built-in cPanel migration tool designed to fetch and convert cPanel backup archives directly[cite: 1].
- Log in to your Webuzo Admin Panel (
https://your-server-ip:2005)[cite: 1]. - In the left navigation menu, navigate to Import / Export > cPanel Importer[cite: 1].
- Choose your preferred migration method:
- Remote cPanel Server (Recommended): Webuzo connects via SSH/WHM API to fetch accounts automatically[cite: 1].
- Local Backup File: Upload a pre-generated cPanel
cpmovebackup file[cite: 1].
Step 3: Fetch and Migrate cPanel Accounts
If using the Remote cPanel Server option in Webuzo for your cPanel to Webuzo migration[cite: 1]:
- Enter your cPanel/WHM Server IP, SSH Port (default: 22), and Root Password (or SSH Key)[cite: 1].
- Click Fetch Accounts[cite: 1].
- Webuzo will generate a list of all hosted accounts on the cPanel server[cite: 1].
- Select the specific user accounts you wish to transfer.
- Configure account mapping parameters (IP selection, plan assignment).
- Click Import Accounts[cite: 1].
Webuzo will now automatically generate cPanel user backups, download them to the target server, convert the database schemas, restore public_html files, and rebuild email accounts[cite: 1].
Step 4: Verify Database and File Integrity
Once Webuzo finishes the import process, verify that all files and MySQL databases have transferred correctly[cite: 1]:
1. Test via Local Hosts File
Before updating public DNS records, test the migrated site locally on your browser[cite: 1]:
- Windows: Edit
C:\Windows\System32\drivers\etc\hosts - Linux/macOS: Edit
/etc/hosts
Add the new server IP and domain name:
192.0.2.50   yourdomain.com
192.0.2.50   www.yourdomain.com
Save the file and open yourdomain.com in your browser to verify that pages load without MySQL connection errors (Error Establishing a Database Connection).
2. Verify Database Connection Strings
Ensure database credentials inside configuration files (e.g., wp-config.php for WordPress or .env for Laravel) match the restored user credentials in Webuzo[cite: 1].
Step 5: Perform Final Delta Sync (Syncing New Data)
If your website receives continuous user activity, run a final file/database synchronization before updating live DNS[cite: 1]. This ensures your cPanel to Webuzo migration loses zero real-time transactions or user comments[cite: 1].
Run rsync over SSH to update any modified files in public_html[cite: 1]:
rsync -avz -e 'ssh -p 22' root@old-cpanel-ip:/home/username/public_html/ /home/username/public_html/To sync fresh database changes, export the latest database from cPanel and import it into Webuzo[cite: 1]:
# On Old cPanel Server: Export DB
mysqldump -u root -p database_name > latest_backup.sql

# On New Webuzo Server: Import DB
mysql -u root -p webuzo_db_name < latest_backup.sql
Step 6: Update DNS Records (The Final Switch)
Now that files and databases are 100% in sync, point live web traffic to your new Webuzo server[cite: 1]:
- Log in to your Domain Registrar (e.g., Namecheap, GoDaddy, Cloudflare)[cite: 1].
- Update the A Record to point to your New Webuzo Server IP Address[cite: 1].
- If using custom name servers, update your Glue Records and Name Server IPs[cite: 1].
Because you reduced the DNS TTL in Step 1, global traffic will seamlessly transition to the new Webuzo server within 5 minutes[cite: 1].
Step 7: Post-Migration Cleanup & SSL Renewal
- Issue SSL Certificates: Navigate to Webuzo Enduser Panel > SSL/TLS Keys > Let’s Encrypt and issue fresh SSL certificates for all domain names[cite: 1].
- Monitor Server Logs: Check Webuzo access and error logs (
/var/log/onepanel/) for 404s or script errors[cite: 1]. - Decommission Old Server: Keep your old cPanel server active for 48 hours to ensure no residual traffic is lost[cite: 1].
SEO Best Practices to Maintain Search Rankings
When executing a cPanel to Webuzo migration, emphasize these critical ranking safeguards[cite: 1]:
- Keep URL Structures Identical: Ensure
.htaccessrewrite rules carry over intact so no permalinks break[cite: 1]. - Prevent 5xx Server Errors: 500-level errors during a migration can temporarily de-index key pages if search engine bots crawl the site mid-transfer[cite: 1].
- Maintain SSL Continuity: Ensure Let’s Encrypt or custom SSL certificates activate immediately on the new server to avoid browser security warnings[cite: 1].
- Monitor Google Search Console: Keep a close eye on GSC coverage reports for 7 days post-migration to verify indexing stability[cite: 1].